

 A battery’s State of Charge (SoC) can and will impact your testing regimen and results. First, there’s surface charge. Surface charge, if we get down to the chemical definition can be relatively complicated, but in this case, we are referring to excess voltage typically found in a recently charged battery. If you attempt to test a recently charged battery, you might find that its open circuit voltage (OCV) is 13.05V or 13.12V or higher. Since your lead acid battery is fully charged at 12.6V or 12.8V, depending on its construction, the excess voltage represents surface charge.
But, surface charge can cause issues in the testing process, depending on the testing method used. If using an invasive load tester, surface charge is not a big concern, because the testing process will pull down that surface charge almost immediately. If using an electronic tester, it is best to relieve the battery’s surface charge by adding a load to the battery, such as turning on the high beams for 15 seconds. This will stabilize the battery, allowing you to get a more accurate assessment of battery health and reduce the likelihood of a “charge and retest” result.
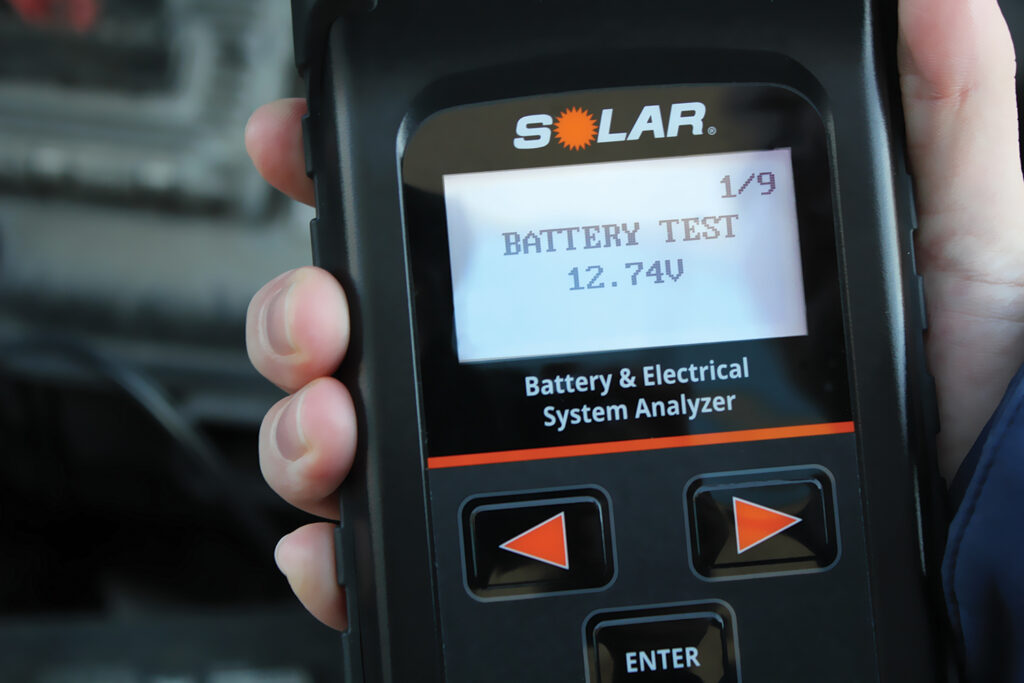
What about low SoC batteries, do they also need special handling? Again, it’s a yes and no, but this time in the opposite direction. For invasive load testing to be accurate, the tested battery needs to be at or above 85% SoC when tested. If it is below this level, which is likely, considering that problem batteries are what get tested the most, it must be charged prior to testing. This takes time, potentially slowing down the diagnosis and eventual repair, but it is absolutely necessary to achieve an accurate result. One of the great benefits of digital testing is that you can accurately test a discharged battery. Of course, there are limits to this. For instance, even though our BA327 can read batteries down to 1.5V, we’d suggest charging a 12V battery prior to testing if it is below 7-8V.
 If you are running a shop, the battery tester can be one of your most valuable tools, with a massive return on investment. The trick is, you have to use it to get that return. First, using your tester on every vehicle that enters your service bays improves customer satisfaction. You are able to advise customers about the state of their electrical system and warn them if they have a potential problem. It is just one more way for you and your team to earn the role of trusted advisor. Second, using your tester drives revenue. There are many vehicles rolling around with batteries that are approaching end of life. In addition, many vehicles have problems with a rotating electrical component, such as a faulty starter. Finally, your tester can help to identify problems with belts and battery cables. These items potentially add revenue to each service ticket while helping your customers – win/win! But, these items and issues might go undetected if you aren’t using a quality battery testing tool consistently on every vehicle that enters your shop.


8 Responses
How do either of the testing methodoligies work on the AGM batrery when there seems to be no sign of degrading untill it’s too late
The 2 methods are very basic and each has an advantage and or disadvantage. The 2 methods are digital/conductance, and Load testing.
Conductance testing was designed to allow testing of cell degradation by passing a signal into 1 post and recording its travel through the battery and back out the other post. Knowing the degradation characteristics of the materials, this is actually a very accurate way to measure the aging and decline of the cell health of a battery. It works! (It was designed to test remote mounted batteries in inclement temperatures where techs would be at risk if they had to charge and discharge and load test for minutes or hours). Since you are passing a signal through the cells, and you are measuring the degradation of that signal (using an algorithm that adjusts for temperature, voltage level, stated capacity, materials etc) the testing can compensate and still be very useful down too extremely low voltages. This can save time! (Which is the main reason it was developed). Especially on an AGM or GEL battery where the charging could take hours before you could run a load test only to find out the battery is junk anyway. A conductance tester can tell you SHORTED CELL or LOW CAPACITY even on a mostly discharged battery and you can then not waste the time to charge it and replace it immediately!
Sounds awesome right?!?
However, cell integrity is not the only thing that makes a battery good, and definitely not the only thing that makes a battery fail. imagine a chain on a bicycle. It spins the wheels when pedaled and makes the force of pedal press apply rotation and you have a tool measuring wheel speed to tell you the chain did its job. Now take a hacksaw and saw through 1 of the links 90%. If that bike is upside down on a worktable, there is no weight or pressure of resistance on the wheels which arent in contact with the ground. That 90% damaged chain will pass the RPM test forever because there is no LOAD so the chain will not break that last 10%. Every time you check the RPM sensor, it says the rear wheel is spinning when you turn the pedals, so the chain did its job and is therefore GOOD.
Flip that bike over and place a 150-lb rider on the seat and the chain will snap as son as he tries to pedal. The RPM test could not measure that, see it coming, or warn you. Its the wrong test for that type of failure.
Load testing solves that issue. In battery testing, load testing is demanding electrical current from the battery cells, either using load devices in the connected circuits (Headlight high beams and blower fans) or applying an external load (Carbon pile testing). Now you arent measuring electronic signal integrity passing through the cells. You are real-world testing the battery the way it will be used! Power was put in by charging the battery, so how stable does it deliver that power and how stable does its charge rate remain after a fixed amount of delivery?
Lets get it out of the way and say it once and for all: LOAD TESTING IS A SUPERIOR TEST IN EVERY WAY BUT CONVENIENCE. It measures the battery in ways conductance cannot. You could have a battery that has good cells and they are all fully charged and the conductance tester will accurately say “800CCA available, Charge rate 100%, GOOD BATTERY”. Then install it and for a moment its all good, then you go to crank it and there is a CLICK and the power drops from 12v down to say 5v or 3v, battery goes from full charge to suddenly seeming DEAD?!? Huh? But my Hi tech digital tester just measured it at 12.6v and 800cca?!?!
The tester probably isnt wrong. The CELLS have that voltage and potential in them. But conductance is simply a voltage level check and a signal degradation measurement. Now we are back to the bicycle chain analogy. If the internal connection of those fully charged perfect condition cells is resisted then what good are they? They have 12v and 800cca in them but you cant get to it and use it! Say the car had loose battery cables. This causes high resistance in the current flow and resistance in electricity equals HEAT! The battery post temperatures rose every time the vehicle was driven to very warm or hot levels far above normal. the connection of the battery posts to the cells inside the battery gets very hot and degrades or even breaks entirely. So now you have 12.6v and 800ccs in those tested cells, with 2 battery posts that are not able to pass the current of 200amp that the starter will draw. You Conductance test told the truth, but it had no way to see that the battery post connection was 80% severed because the signal it sends is unloaded. Its merely passed through to see how it changes in the cells, and then was easily able to pass the bad connection because there is no resistance if there is no demand.
So why test with Conductance at all? I just showed that you cant trust it???!!!
That isnt entirely true. When a conductance tester tells you it sees a shorted cell, it has identified a flaw in 10 seconds that may take 3 or 4 hours with a load tester on a discharged AGM or GEL. It saves time and flags broken and bad batteries quickly and easily usually without any recharge before testing. Its not perfect. The lower the charge in the battery the higher the chance of a conductance test saying FAIL even on a battery that may be good after charging, or giving a CHARGE AND RETEST message that will ultimately fail after charging (a battery rated at 800cca tested at 8v says charge and retest, you charge it to 12.5v and then it shows max capacity of 450cca, so it was bad already why did it ask for a charge and waste 4 hours?!?!)
Conductance testing can quickly and easily identify Internal Shorts, Bad battery cells and LOW CAPACITY of cells. Any of these problems means replace that battery and waste no further time on it! But it cannot identify resistance issues, temperature variation issues, post connectivity issues, or the load and recovery rate of the battery. All that is done using a fully charged load test. Which will also tell you in a roundabout way if you have any shorted or low capacity cells. The battery must be fully charged to run the test accurately, and if any cells are weak or shorted, or the posts have bad connectivity internally, the battery will fail the load test. (Usually 50% of rating applied for 10 seconds). It cant fake it or lie, there are no algorithms computed against theoretical values and measuring how many 200lb bench presses an athlete can do to determine if he will be a good defensive end and lead his team to a superbowl. Did the battery stay above 10v while the load was applied, and did it recover back to near full voltage after? Cut and dried. If it can do that on a load test, it will start your car!
Drawbacks of course. Load testers get HOT so they do fail and have to be repaired/replaced. Also load testing a battery is abusive and can damage it if done too long or too often. And of course the biggest reason conductance has been so popular the past 20 years: convenience. A load test requires a carbon pile, and that the battery be 90% charged or more. a conductance test you can just walk up, run it and give an answer in 60 seconds! The screens prompt you with instructions, and then make printouts for you! Conductance is fast, easy, and finds enough of the problems that many techs use it because of the time savings. The testers are small, easily mobile, and the printouts are impressive to customers.
If you want to find some problems and are OK with occasionally missing a few, . but being finished quickly on every car, conductance is a good choice. It works enough of the time that you usually stay ahead of the curve.
But if you want accuracy, if you wanna be right, the load test is the superior choice in every other way that matters.
And before you ask, there have been only a few testers that combined the 2 (Whats the point? if you are gonna do load then you dont gain much from conductance except perhaps capacity measurement and fail predictability based on degradation algorithms?). The problem with those testers is and has been the load testers break with repeat use. Its what they do. And when that happens, the other half, becomes useless as well as the algorithms are adjusted to factor in load and it wont measure accurately without it. The units broke much much more often than conductance only units and were usually expensive. So buy 1 of each if you want both styles of test.
Kelly – Thanks for your very thorough reply to Robert. The only clarifying detail we would add is that our BA Series Digital Battery and System Tester offering adds microload technology to our signal sending process. While only a fraction of the load created by a carbon pile tester, it does provide many benefits in the testing process. It reduces surface charge on a recently charged battery, it stabilizes the battery’s state of charge, it does provide enough load to sense some problems noted by Kelly and it reduces the number of “Charge and Retest” results. All of these are good things and result in a more successful and predictive (accurate) assessment of battery health. Thanks, Jim from Clore Automotive
Thank you for your detailed explanation on testing batteries. I found this article very helpful to me, an Automotive Tech for 49 years now and still at it. We as techs get very used to working day to day on common issues like you have just explained, that we take things for granted. When we read articles like the above you have just explained, it does one very important thing. It reinforces our practices to just remind ourselves how to conduct our repairs in the appropriate manner and feed guidance and knowledge helping us improve our services. Tell me and i will forget, show me and I will remember.
Cheers
Oliver M
My car is at the dealer now because of no start issue. Dealer said my battery failed all the tests and was replaced with a new battery. The car still won’t start. 2019 GNC Terrain SLT. I’m thinking they are just throwing parts at it and creating a large bill $$ for me.
The towing company tested the battery at 11.5v
Tom – Thanks for adding to the discussion. It sure can be frustrating when the electrical system starts going sideways. Keep pushing for them to get to the root cause. 11.5V is low and there could be many causes for that. We wish you all the best. Thanks again, Jim from Clore Automotive
Thanks for the informative article on battery testing. When I was much younger, I recall testing flooded cell lead-acid batteries using a hydrometer, which looked like a turkey baster with a floating weighted gauge inside. You needed access to the electrolyte, usually available with caps on the tops of most batteries in those days. A reading of the temperature-corrected specific gravity of the electrolyte would correspond to the degree of charge. Just curious if this is ever used today. Of course, it only works if there is access to the electrolyte.
William – Thanks for adding to the discussion. Yes, hydrometer testing is still used and, honestly, is a very accurate and reliable way to assess a given battery’s State of health (SoH). But, as you point out, it requires access to the battery’s electrolyte, which is impossible with today’s AGM and maintenance free lead acid batteries. As such, it is limited in application. Thanks, Jim from Clore Automotive